Self-levelling compound is a cement-based liquid mix that flows across uneven floors and settles flat without manual screeding, typically curing within 24 hours. It works on concrete, plywood, and most existing floor coverings, but only within specific depth tolerances. This article examines which surface conditions justify its use, where alternative preparation methods serve better, and the practical limits installers should know before opening a bag.
Key takeaways
- Most manufacturers allow no more than 3mm variation over a 1.8m span.
- Concrete subfloors develop low spots through shrinkage, uneven laying, or localised settlement.
- Active moisture beneath a subfloor will crack or lift a poured compound layer within months.
- Run a calcium chloride or relative humidity test before pouring on concrete subfloors.
- Skipping primer is the single most common cause of self-levelling compound failure.
- Exceeding the maximum pour depth traps moisture inside, producing surface cracks as it dries.
- A 10mm pour at 18°C typically reaches foot traffic strength within four to six hours.
What Self-Levelling Compound Actually Does to a Floor
Check your floor’s levelness before ordering rigid flooring. A spirit level or long straightedge will reveal peaks and dips that cause serious problems once planks or tiles are laid. Most manufacturers specify no more than 3mm variation over a 1.8m span. Exceed that, and LVT flooring will flex, click joints will stress, and the surface will fail prematurely.
Self-levelling compound is a pourable, cement-based mixture that flows into low points and sets hard within two to four hours. It bonds chemically to concrete and most existing substrates, creating a dense, load-bearing surface that resists compression once cured. No heavy trowelling is needed because gravity does most of the work.
The cured layer ranges from 3mm to 50mm depending on product and substrate depth. Thicker pours need priming and, on deep voids, a filler aggregate mixed in beforehand. Without primer, the substrate absorbs moisture too quickly, causing the compound to crack before it reaches full strength.
Floor Conditions That Require Self-Levelling Compound
| Substrate Type | Common Problem | Pre-Treatment Required | SLC Suitable? |
|---|---|---|---|
| Concrete subfloor | Low spots from shrinkage or uneven laying | Prime with manufacturer-specified primer | ✅ Yes |
| Timber subfloor | Cupped, warped, or raised board edges | Screw 6mm or 12mm plywood at 150mm centres, then prime | ⚠️ With prep only |
| Old adhesive / tile beds | Patchwork of uneven heights | Clean, remove debris, prime thoroughly | ✅ Yes (2–3mm skim) |
| Active moisture subfloor | Rising damp breaking bond | Calcium chloride or RH test; fix moisture source first | ❌ No |
| Structurally moving floor | Differential settlement or flexing joists | Mechanical fixing or structural investigation required | ❌ No |
Floors fail the 3mm tolerance test for several distinct reasons, and identifying the correct cause determines whether self-levelling compound will solve the problem.
Concrete subfloors develop low spots through uneven initial laying, shrinkage, or localised settlement. These gradual dips are exactly what pourable compound corrects most effectively, flowing into depressions without manual spreading.
Timber subfloors present a different challenge. Boards that have cupped, warped, or pulled away from joists create raised edges rather than broad dips. Compound bonds poorly to flexing timber and may crack once foot traffic resumes. Screwing 6mm or 12mm plywood at 150mm centres stabilises movement first; compound applied over primed timber then addresses residual unevenness.
Old adhesive residue and tile beds from previous coverings leave a patchwork of heights. Where the substrate is sound, a 2-3mm skim coat brings the surface to a uniform plane. The substrate must be clean, dust-free, and primed with a manufacturer-specified primer. Skipping this step causes delamination regardless of how well the compound is mixed.
When Self-Levelling Compound Is the Wrong Choice
- Concrete subfloors with gradual low spots from shrinkage or settlement
- Residual unevenness after plywood has been screwed over timber subfloors
- Old adhesive or tile bed residue on a sound, dry substrate
- Bringing a floor within the 3mm over 1.8m tolerance for rigid flooring
- Pours between 3mm and 50mm on primed, prepared surfaces
- Active moisture below the slab — bond breaks and compound cracks or lifts
- Structurally moving or flexing floors — rigid compound will crack regardless of thickness
- Depressions deeper than the product's rated maximum per layer
- Unprimed or dusty substrates — delamination is almost certain
- Timber subfloors with movement that has not been mechanically stabilised first
Applying self-levelling compound over active moisture does not fix the floor. It conceals the cause. Persistent moisture from below breaks the bond with the subfloor, causing the layer to crack, lift, or powder within months. Run a calcium chloride or relative humidity test on concrete subfloors before pouring. If readings exceed the manufacturer’s threshold, address the source first. Rising damp at wall edges usually signals the problem extends further than it appears.
Structural movement also disqualifies self-levelling compound. Floors that flex under load or show differential settlement will crack any rigid compound layer, regardless of thickness. Compound is a surface preparation product, not a structural repair. Flexing joists need mechanical fixing; slab settlement needs investigation before any topping is applied.
Most products are rated to a maximum depth of 20 to 50mm per layer. Exceeding that causes shrinkage cracking as the material cures. Depressions deeper than the rated maximum require a purpose-made floor-levelling screed or multiple poured layers with adequate drying time between each.
How to Prepare a Subfloor Before Pouring Compound
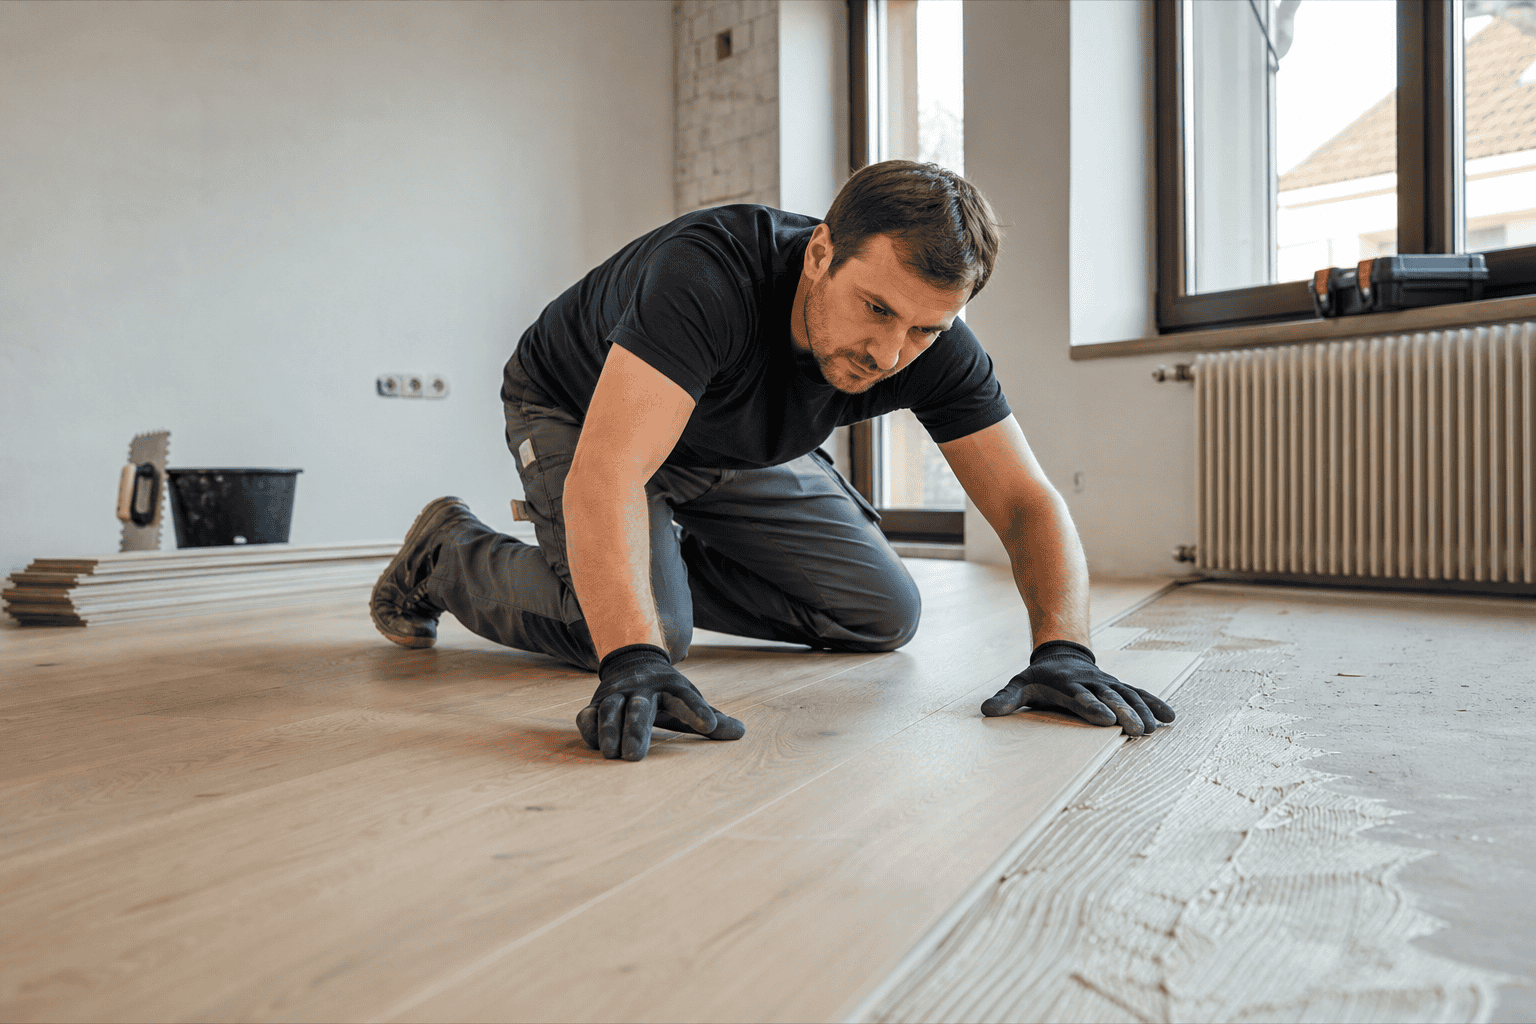
Subfloor preparation determines whether self-levelling compound bonds correctly or fails within weeks. Clean, dry, primed surfaces are non-negotiable before pouring.
Remove debris, grease, and old adhesive residue. Grind down high spots and re-secure loose floorboards, as movement cracks a freshly poured layer. Check moisture levels, then prime the entire subfloor. Skipping primer is the single most common cause of delamination, particularly on porous concrete.
Use depth pins to confirm a minimum pour depth of 3mm. Pouring thinner produces an uneven result that cracks under load, a particular risk in flooring for retail and other high-traffic settings.
Mix compound to the manufacturer’s exact water ratio and pour promptly. Most products have a working window of 15 to 20 minutes. Use a spiked roller immediately after pouring to release trapped air, then allow the surface to cure undisturbed. Draughts and premature foot traffic both cause cracking before the compound sets.
Thickness, Drying Time, and Common Application Mistakes
Pour depth directly determines compound performance. Most standard self-levelling products work between 3mm and 50mm per pour, but exceeding the manufacturer’s maximum traps moisture inside the mass, causing the outer layer to dry faster than the core and producing surface cracks.
Drying time depends on pour depth, temperature, and ventilation. A 10mm pour at 18°C typically reaches foot traffic strength within 4 to 6 hours, but a 25mm pour in a cold, poorly ventilated space may need 24 hours or longer. Fitting flooring too early causes permanent indentations on an incompletely cured layer.
Mixing ratio errors cause a significant share of failures. Too much water produces a weak layer that powders under traffic; too little prevents correct flow, leaving ridges and air pockets. Weigh water rather than estimate, and mix for the full duration on the product data sheet, typically 2 to 3 minutes at low speed.
Working time runs 15 to 20 minutes once mixed. Pouring in small sections creates visible joins where one batch begins to set before the next arrives. For larger rooms, a floor fitter will batch-mix and pour in one continuous sequence, since cold joints do not bond chemically and can crack once flooring load is applied.
Frequently Asked Questions
When is self-levelling compound actually necessary before laying a new floor?
Use self-levelling compound when the subfloor has height variations exceeding 3mm across a 1.8m span. Rigid floor coverings such as ceramic tiles, LVT, and laminate are most sensitive to dips and humps. Flexible materials like sheet vinyl can tolerate minor irregularities without it.
How uneven does a subfloor need to be before self-levelling compound is the right fix?
Most flooring manufacturers specify a tolerance of 3mm over a 1.8-metre span. Beyond that threshold, self-levelling compound becomes the appropriate fix. Minor dips within tolerance can usually be addressed with a floor-levelling primer or spot filler alone.
Can self-levelling compound be used over concrete, timber, or existing tiles?
Check the substrate first, then prime accordingly. Self-levelling compound bonds well to concrete and sand-and-cement screeds with the correct primer. Timber floors need a flexible formula to allow for movement. Existing tiles must be sound, fully adhered, and primed before application.
When should you avoid self-levelling compound and repair the subfloor instead?
Gaps, rot, loose boards, and structural movement cannot be fixed with compound. Self-levelling products only mask surface irregularities; they do not add strength or stability. Address any underlying subfloor damage before applying compound, or the finished floor will fail regardless of how level the surface appears.
How thick can self-levelling compound be applied in a single layer?
Most self-levelling compounds allow a single application between 3mm and 50mm, though the exact range varies by product. Thin-set formulas suit minor corrections; deep-fill versions handle more significant level differences. Always check the manufacturer’s datasheet, as exceeding the maximum depth in one pour can cause cracking during the curing process.